Capture 360-degree panoramas with Google Photo Sphere for iOS
Learn how to use the app that's been a popular Android staple for some time.


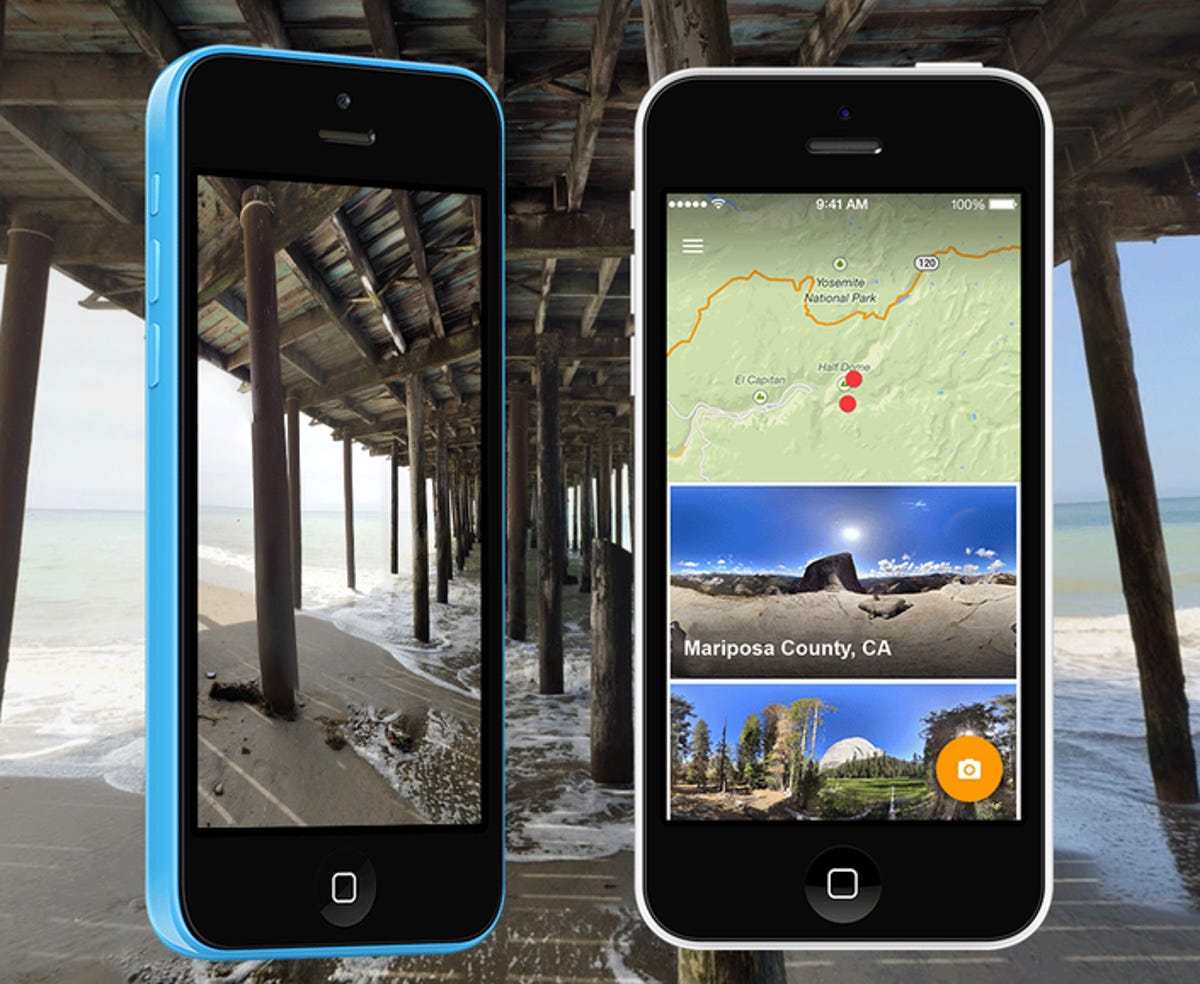
Earlier this week, Google took the wraps off a new app: Photo Sphere Camera for iOS.
Of course, to Android users, it isn't new at all. The app's 360-degree panorama capability has long been a part of that platform's stock Camera app. For the iOS crowd, however, it offers a free and fairly easy way to capture and share photo spheres.
However, there are a few caveats, and a few aspects to using the app that aren't so obvious. Here's what you need to know:
Step 1: Install the app on your iPhone, iPad, or iPod Touch. It's free.
Step 2: Tap one of the two sample spheres to get an idea for how a finished product can look. By default, you swipe to move around within the sphere, but you can also tap the little compass icon for an accelerometer-powered view that moves as you tilt and pan the screen.

Step 3: Position yourself in the center of whatever "sphere" you want to shoot, then tap the orange camera icon in the lower-right corner. As guided by the app, you'll need to center the orange dot within the white circle (or move the circle till it "captures" the dot) and hold it for a few seconds. Once that's done, slowly pan the camera left or right until you see the next dot/circle, then line them up until the shutter fires.
Step 4: Continue this process until you've turned a full 360 degrees, pausing as you go for additional snaps. Then pan up (or down) until you see the next dot/circle. Now stay panned in that direction and turn another 360 degrees (in the same direction as before). When you're done, pan down (or up) to start your third 360-degree circle.
Step 5: Capture the last few areas near your feet and straight overhead. Or, if you feel you've got enough, tap the Finish icon. Then be prepared to wait a few minutes while Photo Sphere Camera stitches everything together.
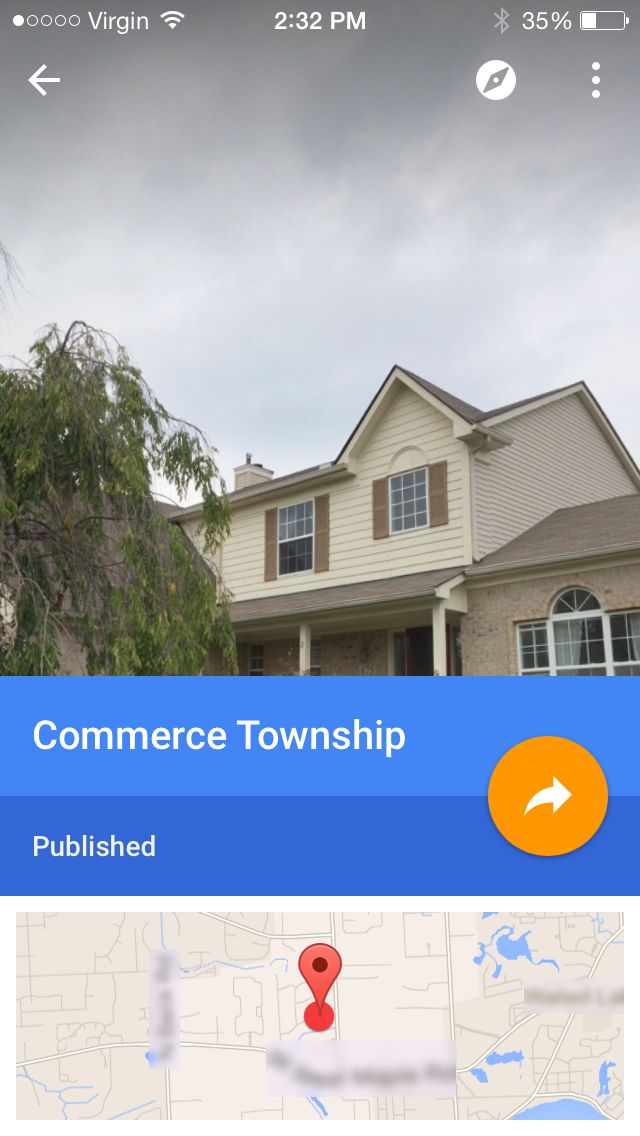
Step 6: If you want to share your sphere anywhere outside your iDevice, you'll need to sign into your Google account (which you can do by tapping the Menu icon). Then, while viewing your sphere, tap Publish to Google Maps. Once that's done, you can tap the orange Share icon to make your sphere available via Facebook, Twitter, email, or Google+.
By the way, you'll also find your spheres in your Camera Roll, though they'll appear there as basic panoramas. For the full sphere effect, you'll need the Photo Sphere Camera app.