3 ways to convert any desk into a standing desk
Before you splurge on a ready-made standing desk, try a DIY one for as little as $22.


Standing desks can be quite an investment -- upwards of $6,000 for top-tier, adjustable models. Even if you consider everything that goes into switching from your traditional desk, there's no guarantee you're going to love standing, especially all the time.
If you're not willing or capable of spending thousands of dollars on an adjustable desk, you might want to consider the idea of a temporary, stand-up conversion for your existing desk.
The IKEA hack

Piecing together some affordable odds and ends from IKEA is a very popular and affordable way to convert traditional desks to standing ones.
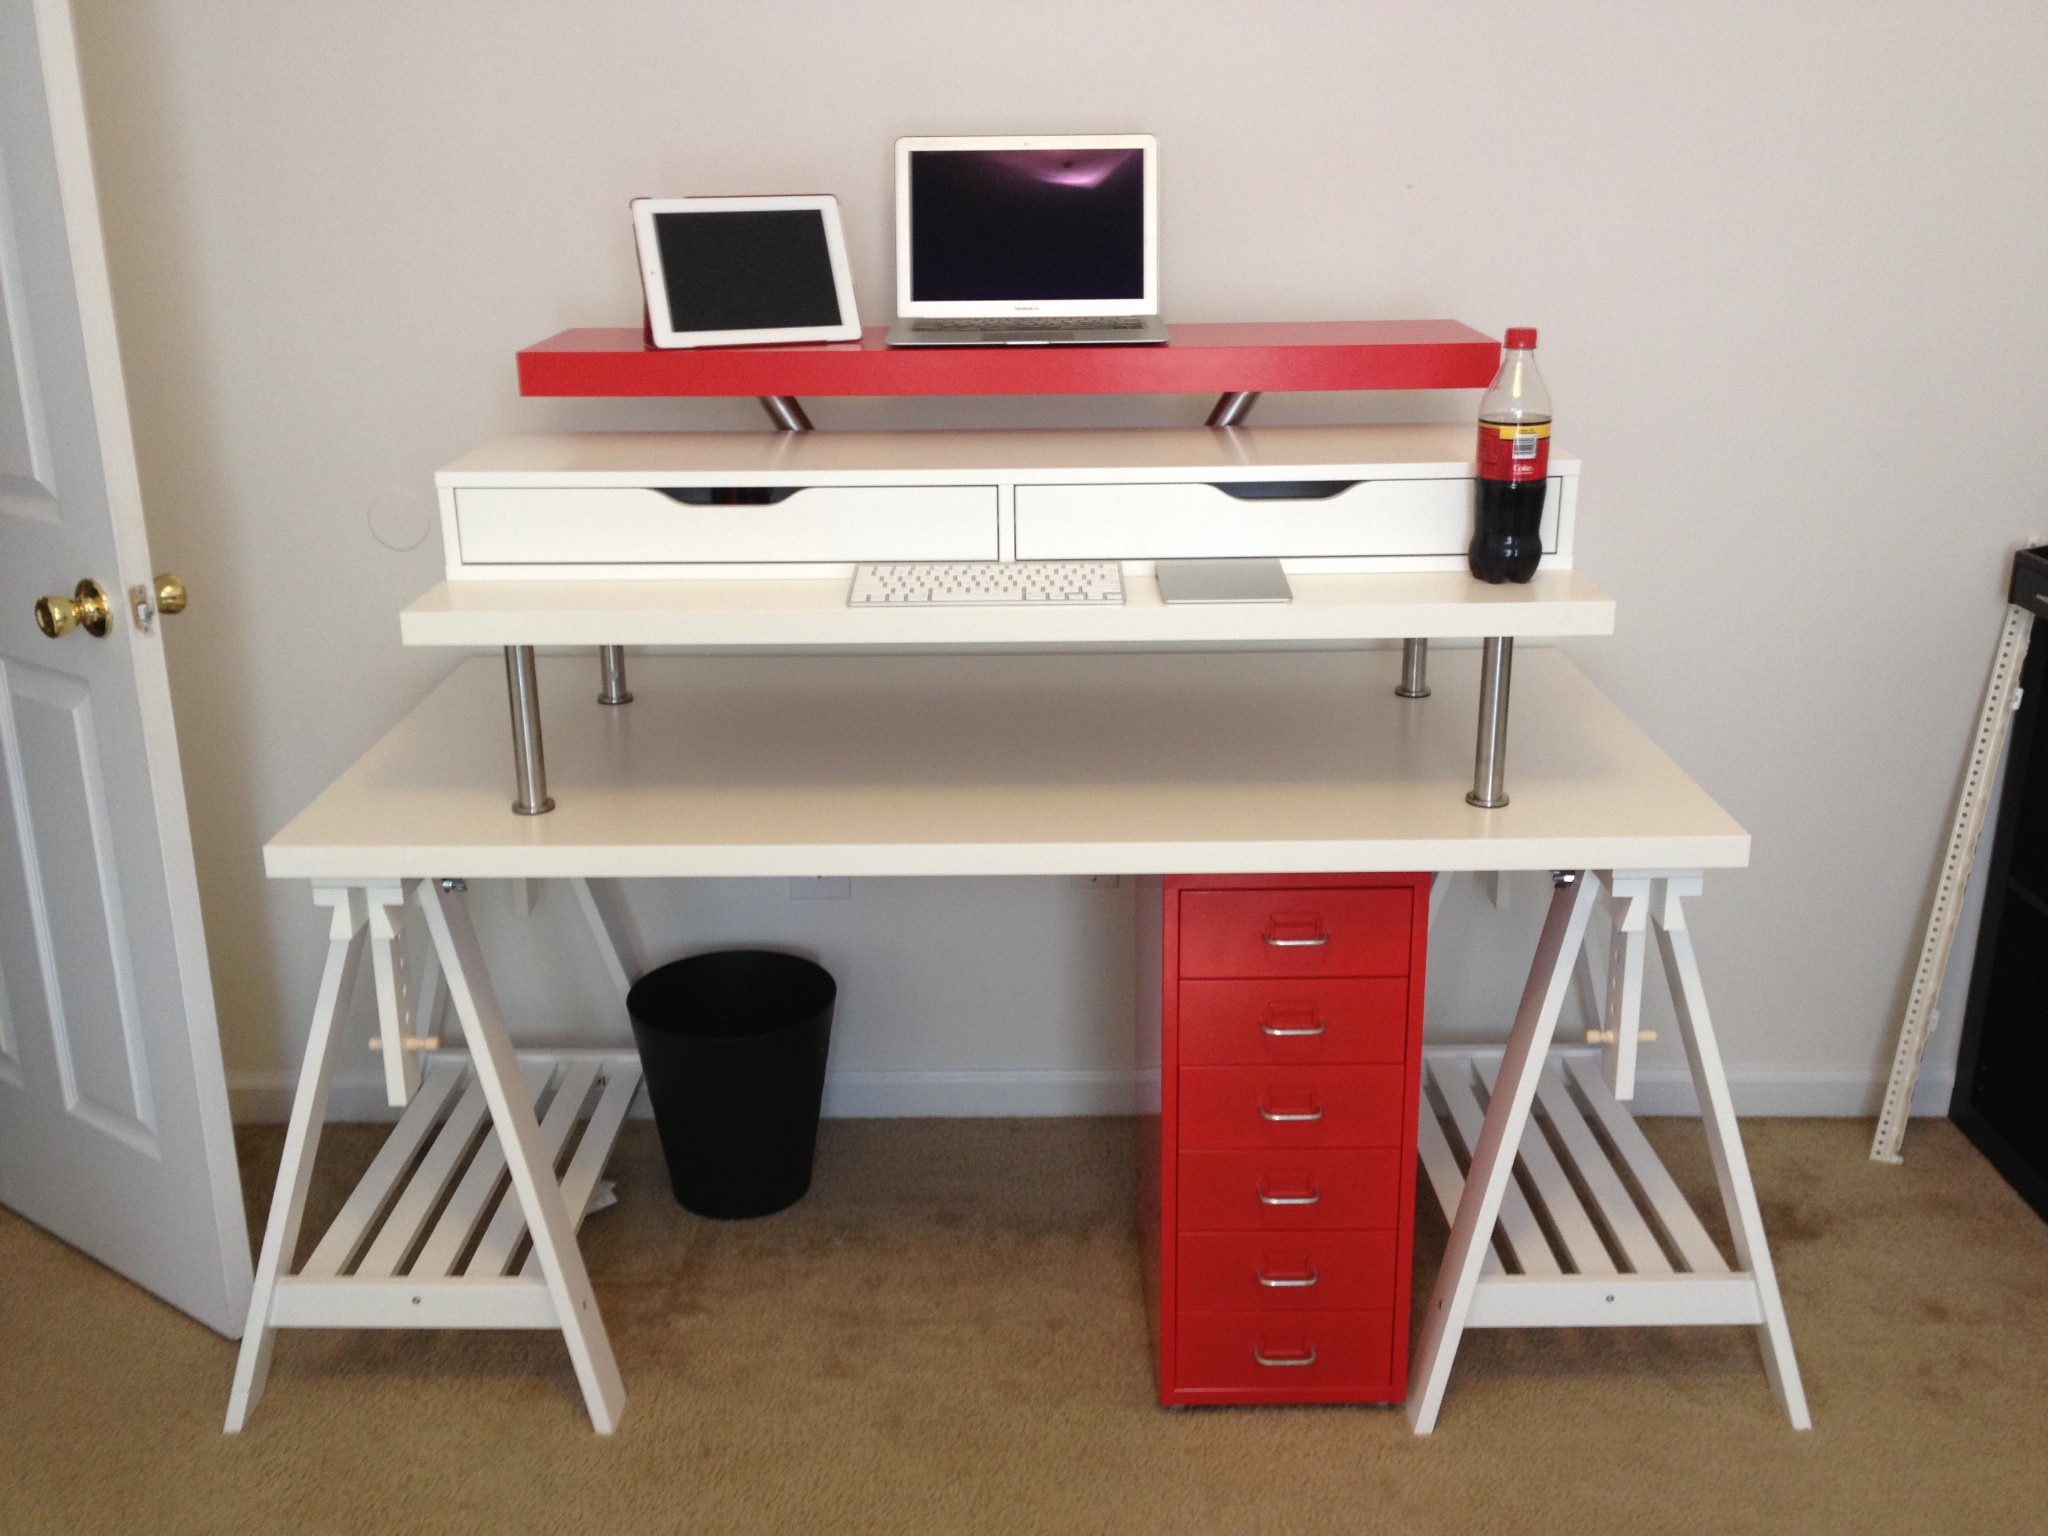
One of the oldest and affordable conversions originates from Colin Nederkoorn, which he calls the Standesk 2200.
The desk consists of the Lack side table, Viktor shelf, and the Ekby Valter bracket from IKEA, which together cost around $22 USD before tax. Assemble the table, bolt the shelf onto the legs using the wall bracket, and sit it on top of your existing desk.
I built something very similar, albeit much larger and more expensive, back in 2012. It worked flawlessly for me for two years, until I upgraded to a much more rigid and permanent standing desk.
Pros
- At as little as $22, it's one of the most affordable standing desk conversions available.
- It's sturdier than a stack of books, but may still wobble.
- Once assembled, it's very quick and easy to add to or remove from your existing desk.
Cons
- The height of the shelf (for your keyboard and mouse) is adjustable, but the height of the side table is fixed. To adjust this, you would need to place textbooks under the legs or shorten the legs with a saw.
- It isn't easily disassembled. It may be difficult to store when not in use.
An adjustable lap desk
Another method of raising your laptop to standing height is to use an adjustable lap desk. It will work much like the IKEA hack method, but you can quickly adjust the height and angle of your workstation. Plus, it packs away quickly.
One drawback to this method is that there is not a good way to raise your keyboard and mouse without using textbooks or purchasing yet another stand for your keyboard and mouse or trackpad.
Pros
- An adjustable lap desk is easily packed away and even portable, just in case you want to take it on business trips or to the coffee shop.
- The range of height and angle adjustments is better than other solutions.
- At roughly $35 to $60, it's still more affordable than many commercial standing desk conversion options, and far more affordable than a dedicated standing desk.
Cons
- You will have to use something else to raise your keyboard and mouse.
- This is probably the least sturdy of all the options.
The coffee table method
A different approach to convert to a standing desk is to raise the height of your workspace, not by lifting your computer, but by raising the entire desk. I've seen some very precarious solutions offered by people on the Internet, such as raising the height of a sitting desk by simply resting each of the legs on a car jack. Considering a kick to any one of the jacks could bring the whole desk down, it isn't a very advisable way to go about things.
However, what you can do is place the entire desk on top of a coffee table with roughly the same dimensions as your desk. This can raise the height of your desk anywhere from one to two feet, which will still require you to slightly raise the height of the monitor. But at least it takes care of the hard part: raising the working surface.
Plus, if it doesn't work out or you decide to upgrade to an actual standing desk later on, you will have a new, albeit probably slightly scratched, coffee table for your living space.
Pros
- This option maintains the largest amount of working area by raising the entire desk instead of lifting only the keyboard, mouse, and laptop or monitor.
- It may be difficult to find a coffee table that is short enough and roughly the same dimensions as your desk.
- This is the most stable of all the DIY solutions.
Cons
- This is the most permanent of the options, as it will not be easy to lift your entire desk on or off of the coffee table as you go about your day.
- You still need something to raise the monitor a few inches higher, but the keyboard and mouse should be around the correct height.
Bonus: A box or stack of textbooks for a quick solution
If you just want to see what standing while you work entails, a decent temporary solution is to grab several textbooks and stack them up. You will need two or three stacks: one to two for the keyboard and mouse, and another for the laptop or monitor.
This method comes with several, obvious caveats. For starters, it isn't very stable. With a teetering stack of books, simply knocking the desk could send your laptop or monitor falling several feet to the floor. But, if you're careful, it's a great no-cost solution that will allow you to try standing for a couple days and help you get an idea of what it will be like and whether you want to pursue the idea any further.
Pros
- If you already have the books, this method is entirely free.
- Fine-tuning the height is done by simply adding or removing a book or two.
- It can be set up and taken down in a matter of seconds.
Cons
- It's easily the least stable and most temporary of solutions.
- It puts your gadgets at risk of falling.
- It dramatically reduces the work area at standing height.