Windows 10 Settings menu: The Network & Internet tab
Got connection questions? The Network & Internet tab is your friend.


The new Windows 10 Settings menu lets you quickly find basic settings without digging through the Control Panel. The Network & Internet tab combines the traditional Network and Sharing Center from the Control Panel with Windows 8's watered-down settings menu. If you're looking for connection settings, this is where you'll find them.
Unlike the other settings categories, there are two easy ways to access the Networks & Internet tab. You can access it through the Settings menu (Start > Settings > Network & Internet), or you can access it by clicking the network icon in the system tray and clicking Network settings. The Network & Internet tab has a few different sections, depending on your machine -- my desktop, for example, has no wireless card, and thus the Wi-Fi section doesn't appear in my Network & Internet tab.
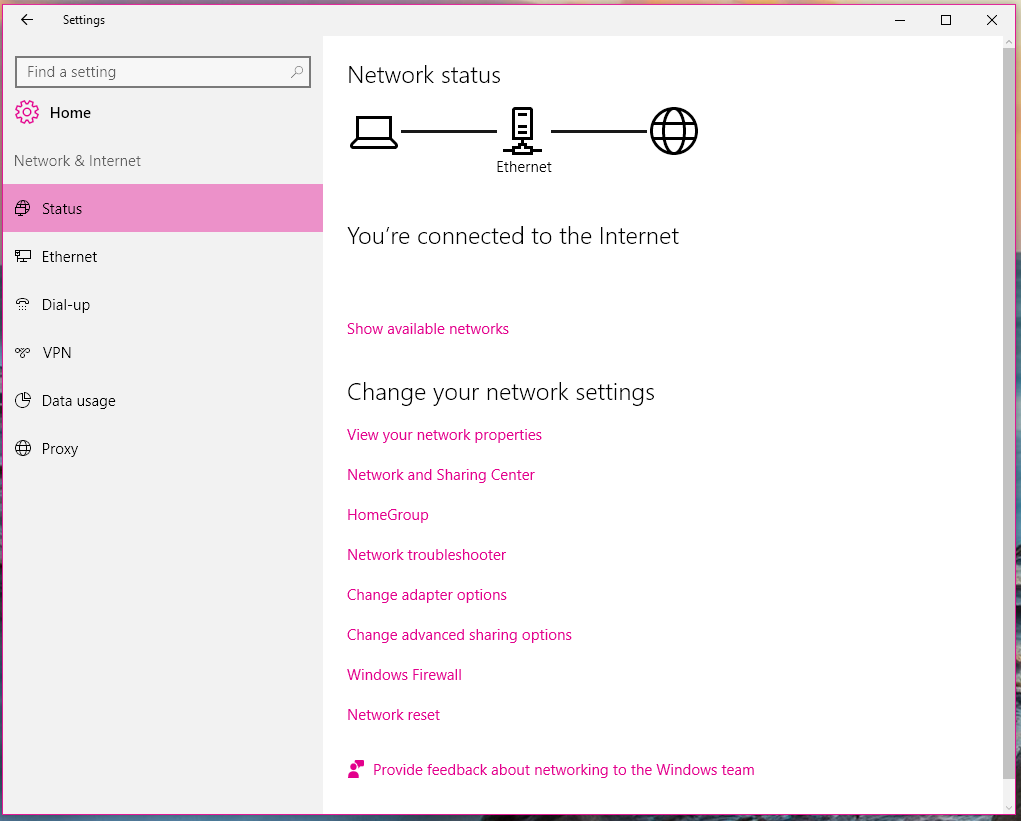
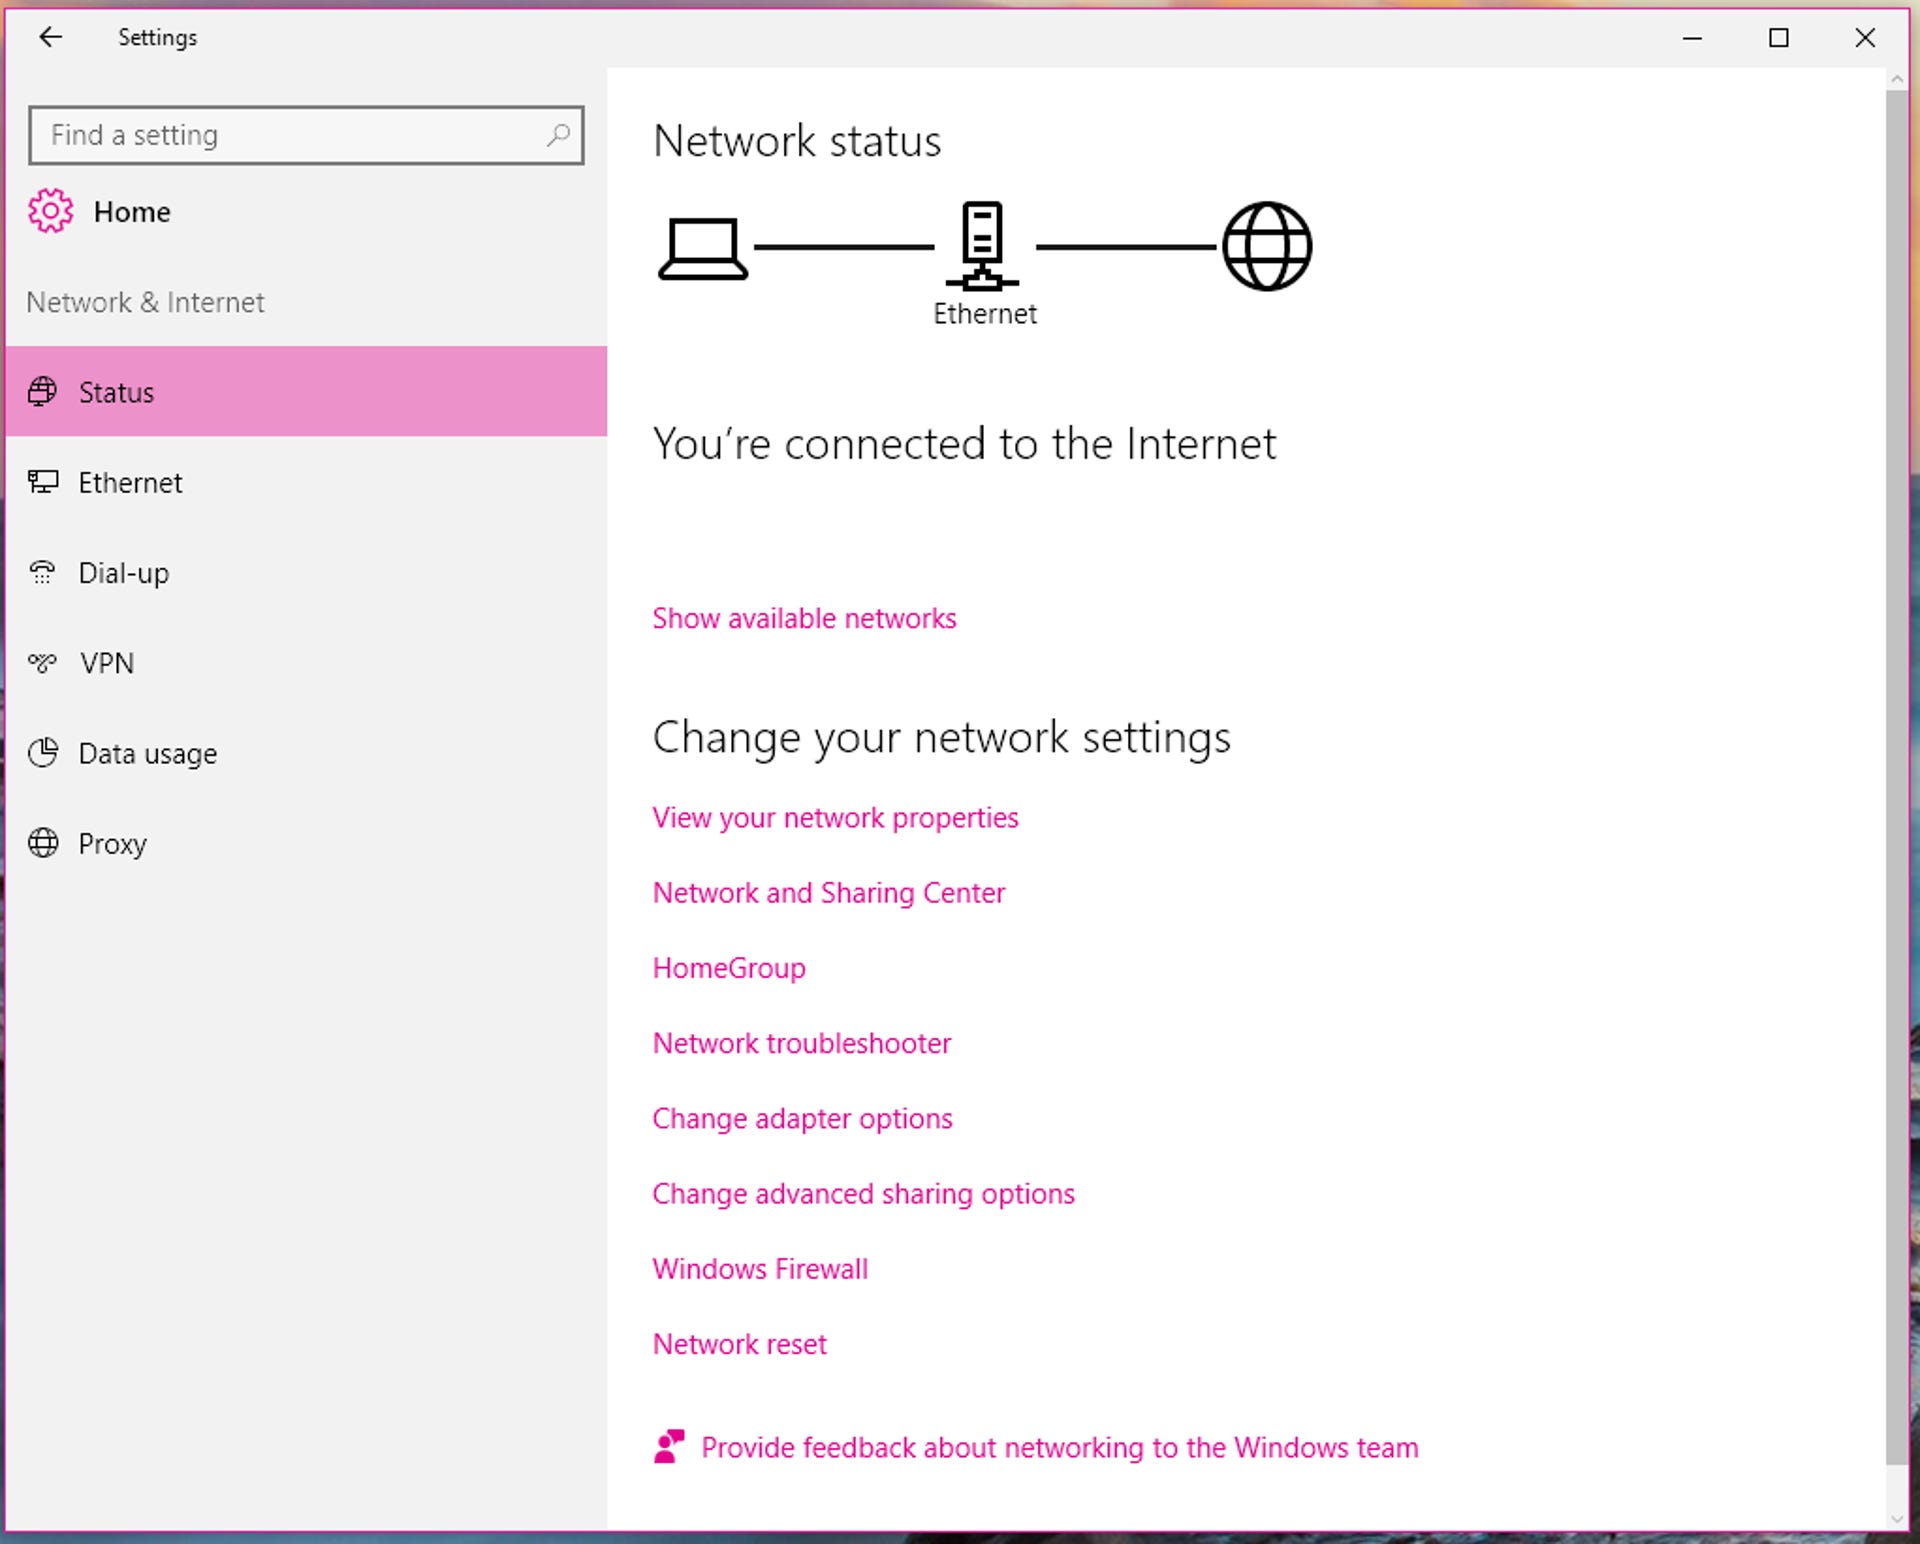
The Status section of the Network & Internet tab shows your current connection status -- whether you're connected to the Internet, and through which network. From this screen, you can View your network properties to see your IP address, set up a HomeGroup (more info on how to do this here), and troubleshoot your connection using the Network troubleshooter.
Wi-Fi
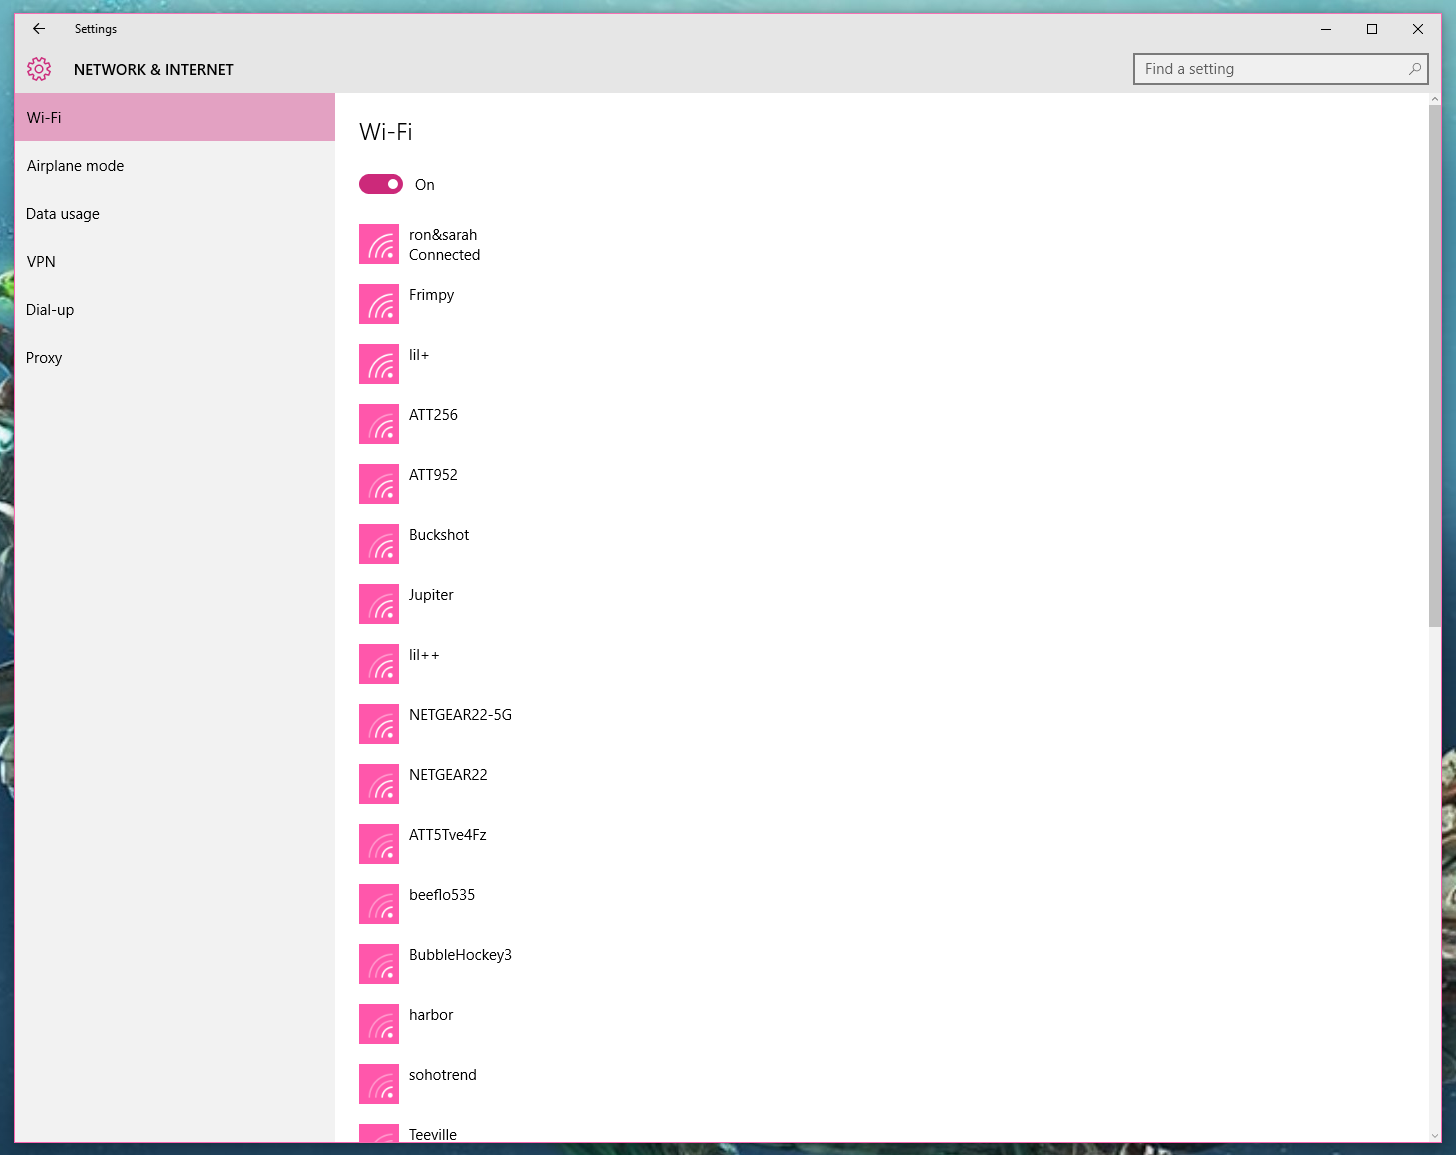

At the top of the Wi-Fi section, there's a toggle that lets you turn your Wi-Fi on or off. There are multiple ways to turn Wi-Fi on and off (from the Action Center, for example), but it's helpful that Microsoft has included this toggle here.
The Wi-Fi section is similar to other network-based sections -- it shows the network you're currently connected to, as well as other networks in the area. From the Wi-Fi section, however, you can also click Manage Wi-Fi settings, which will let you configure the controversial Wi-Fi Sense feature (though this feature will no longer be active after the Windows 10 Anniversary Update).
Airplane mode

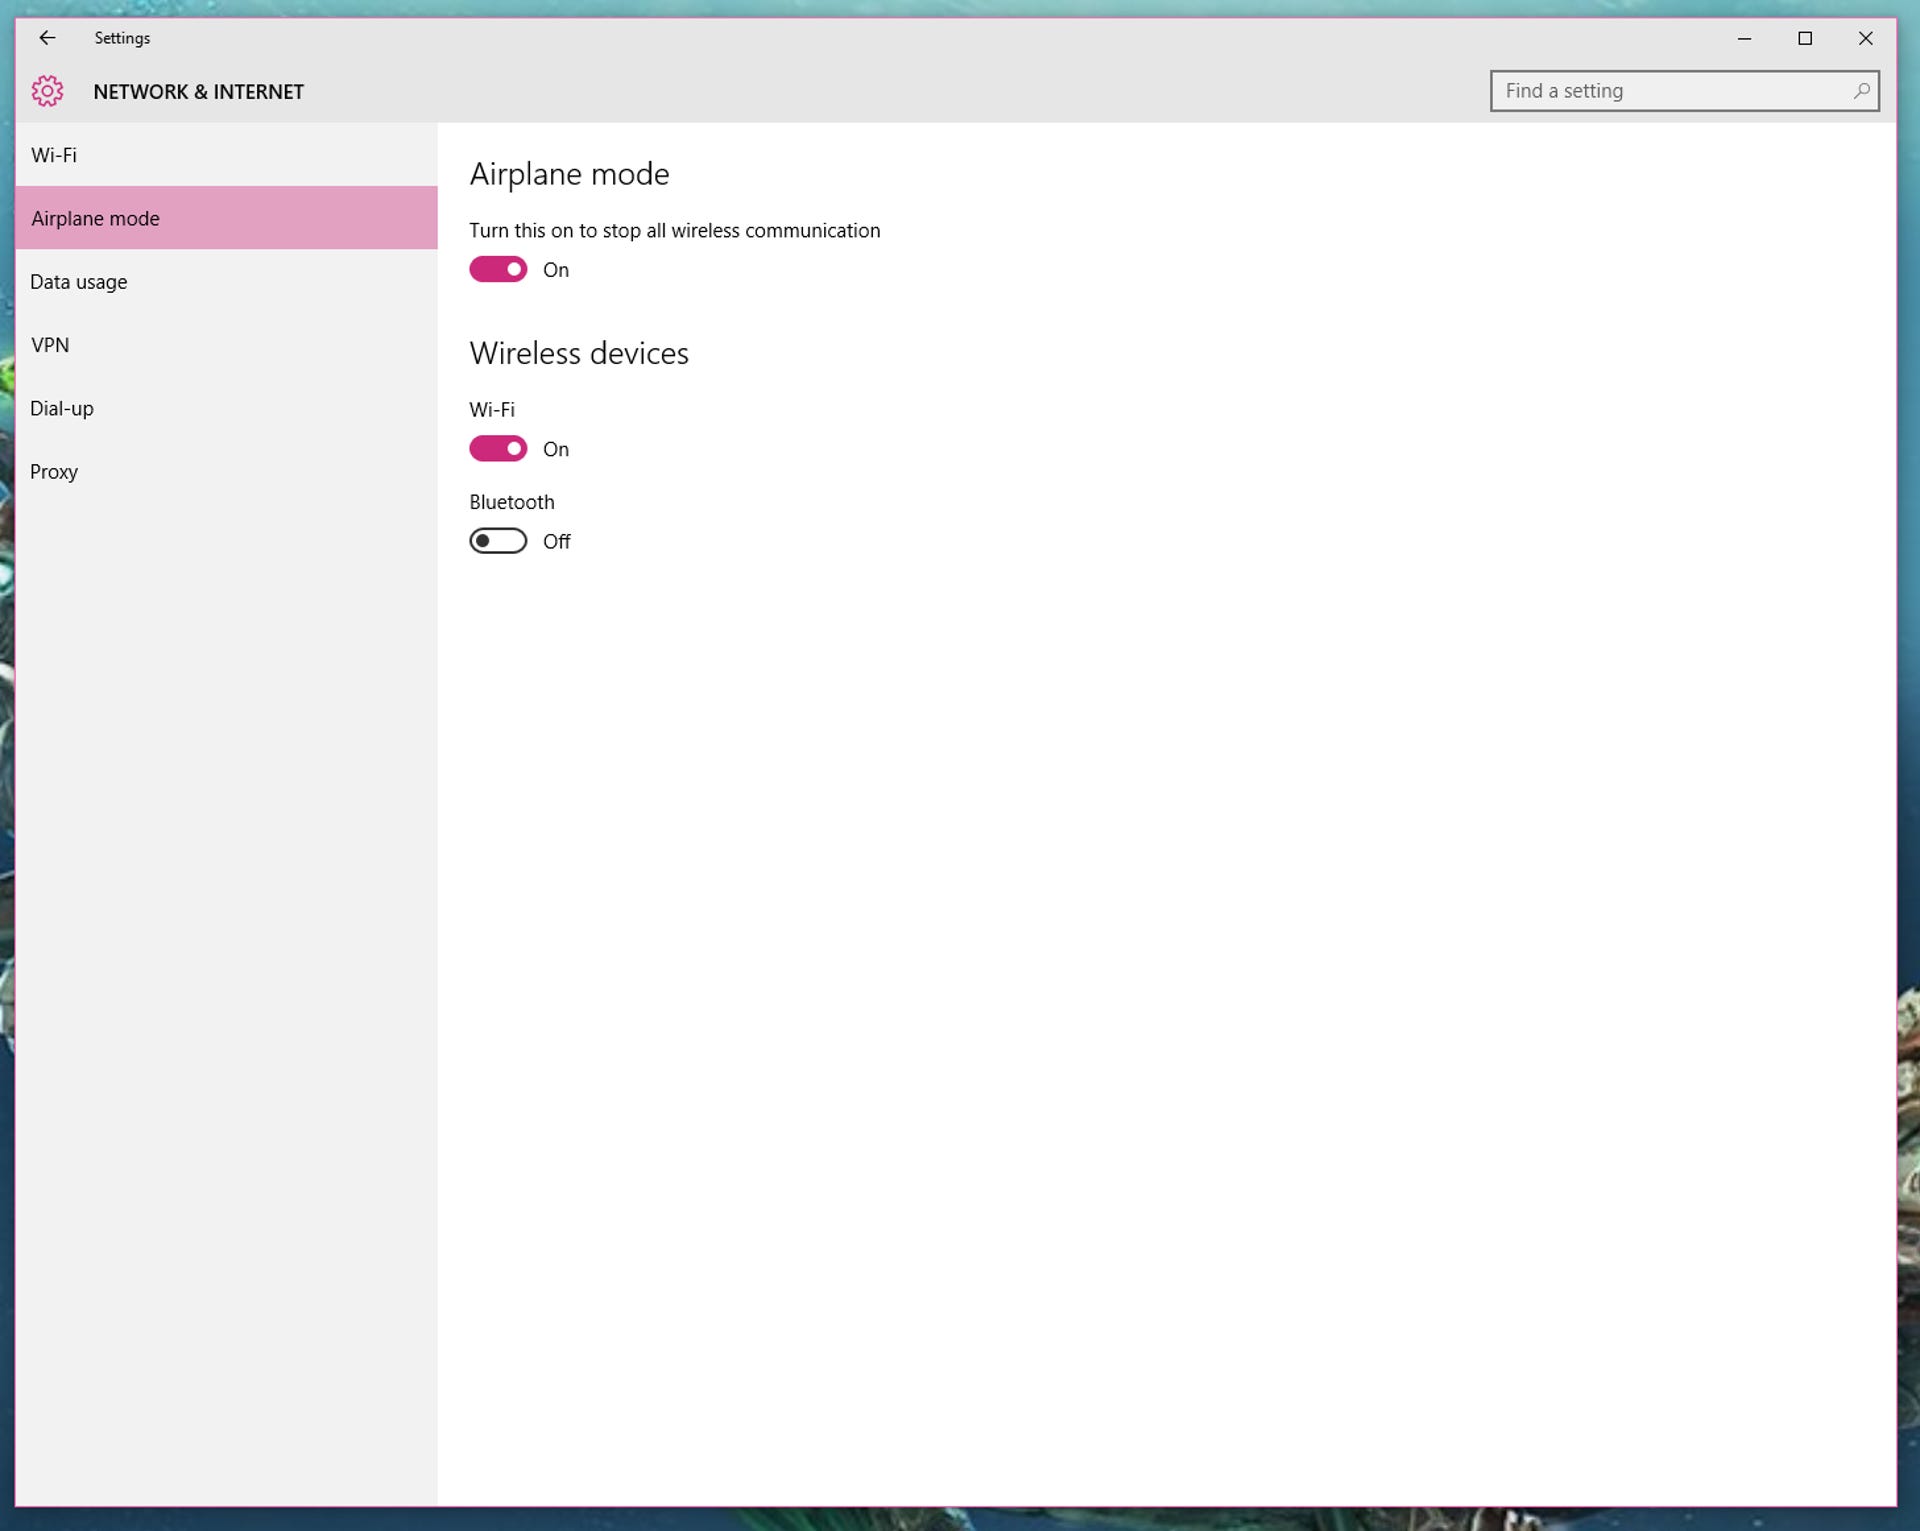
The Airplane mode section will only appear if you're using a computer (or tablet) with built-in wireless network radios, such as Wi-Fi and Bluetooth. This section has a simple toggle for Airplane mode, which turns off all wireless communication, as well as specific toggles for the different radios (in my case, Wi-Fi and Bluetooth, but some tablets will also show cellular data). Fun fact: Cortana can toggle most of these settings on and off for you.
Data usage
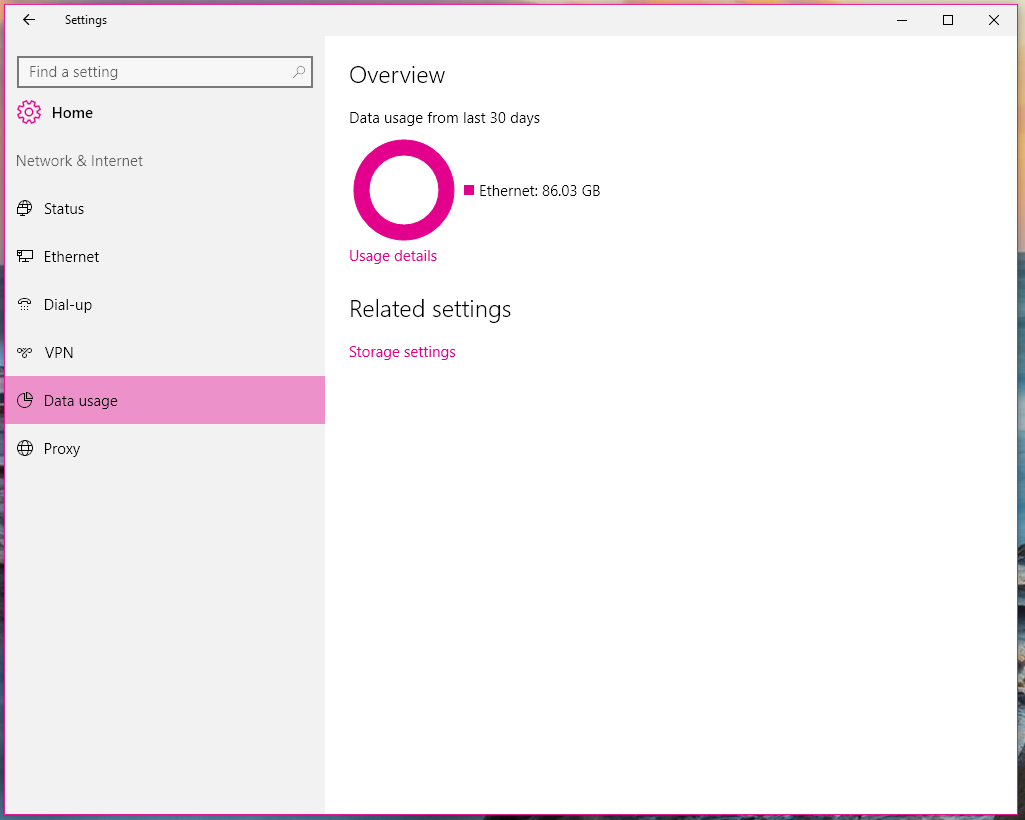

The Data usage section shows a breakdown of your data usage from the last 30 days (how much data you've used from each source) in the form of a donut graph. This section is mostly useful for tablet users who get their data from multiple sources, including Wi-Fi and cellular networks -- as you can see, I'm using a wired Ethernet connection, so this graph doesn't tell me much. For more details on which apps are using data, click Usage details under each source.
VPN
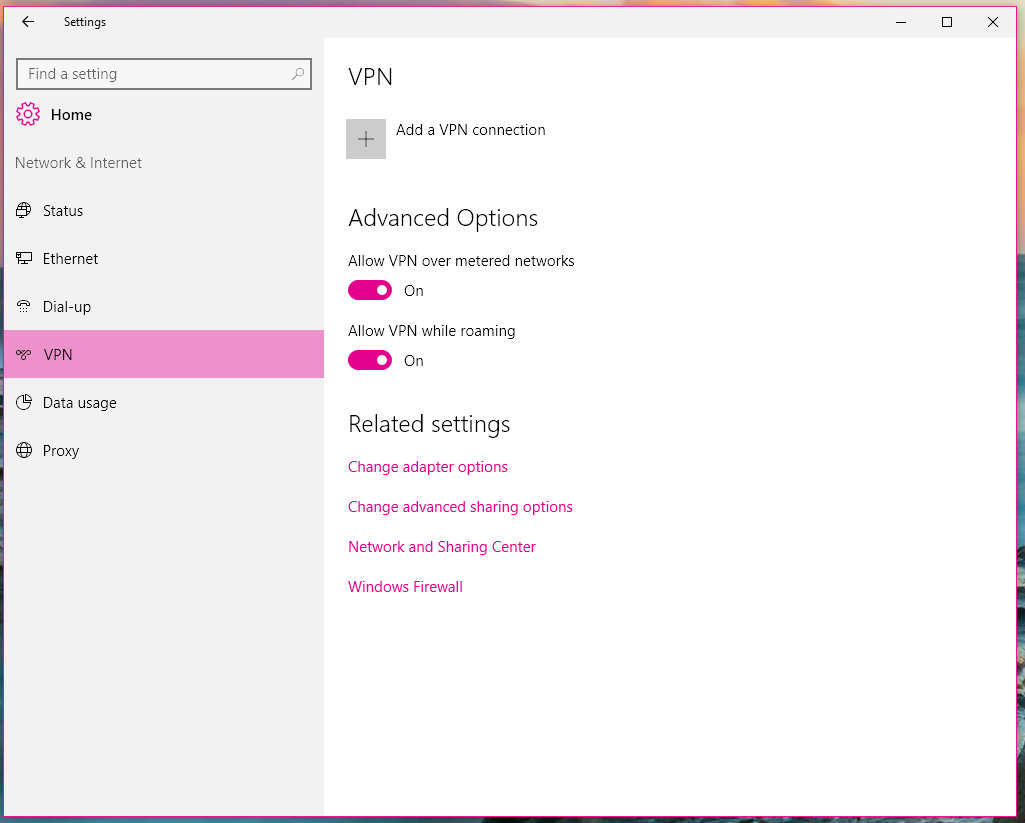
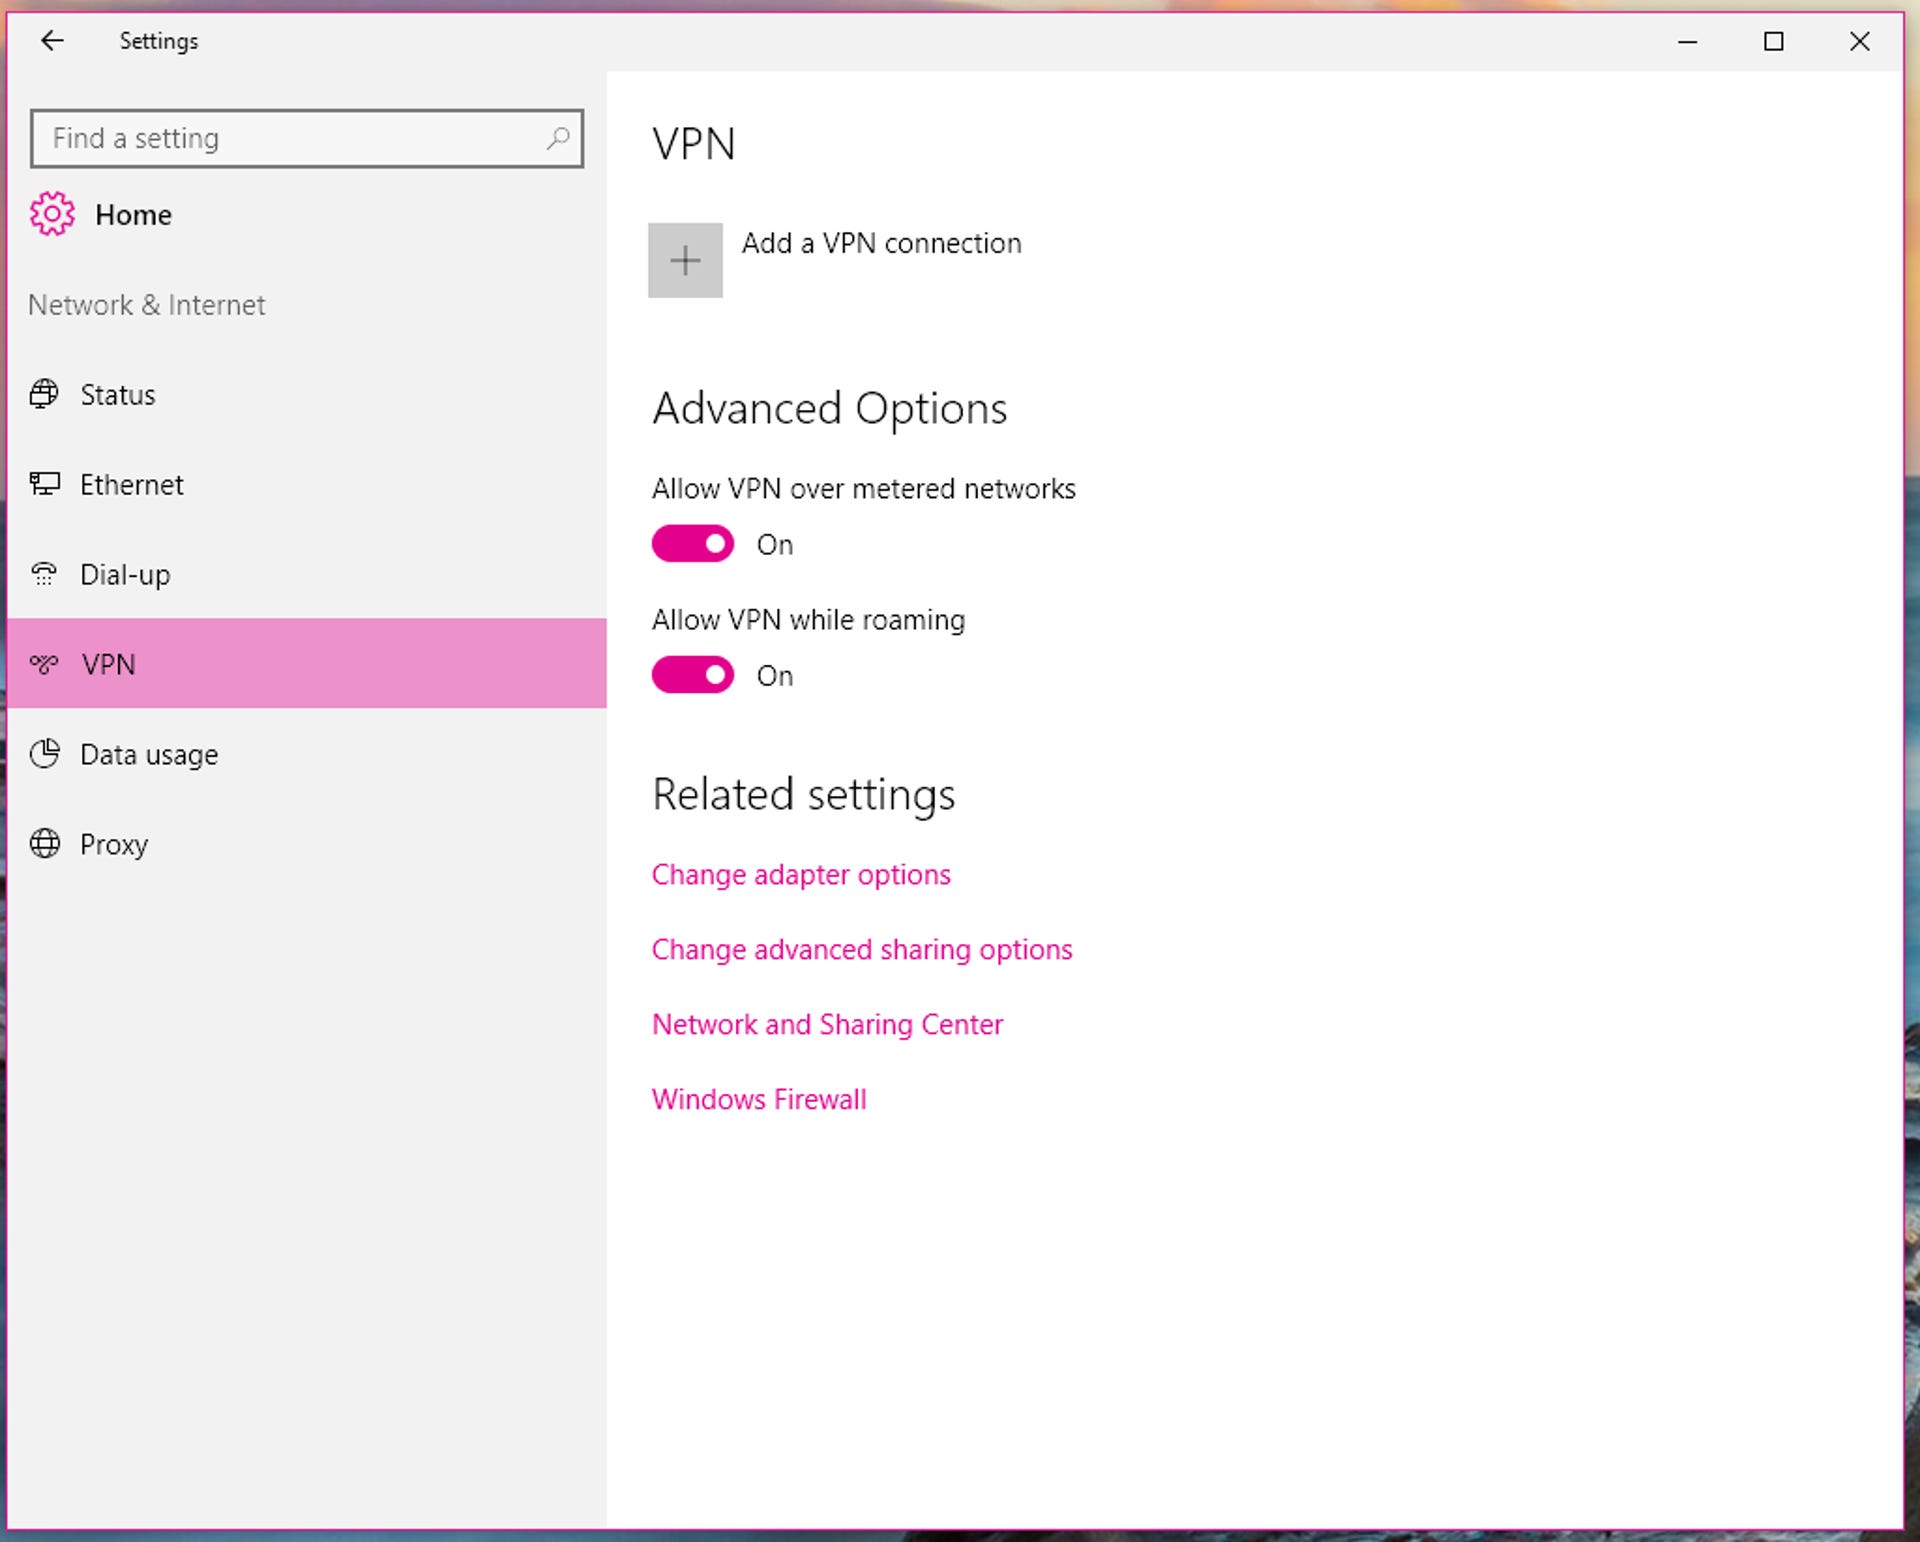
Here you can add a VPN by clicking Add a VPN connection. You'll be able to designate VPN provider, connection name, server name/address and sign-in information. You can also toggle some VPN Advanced Options -- choose whether to allow VPN connections to run over metered networks, or to run while you're roaming (i.e. using cellular data).
Dial-up
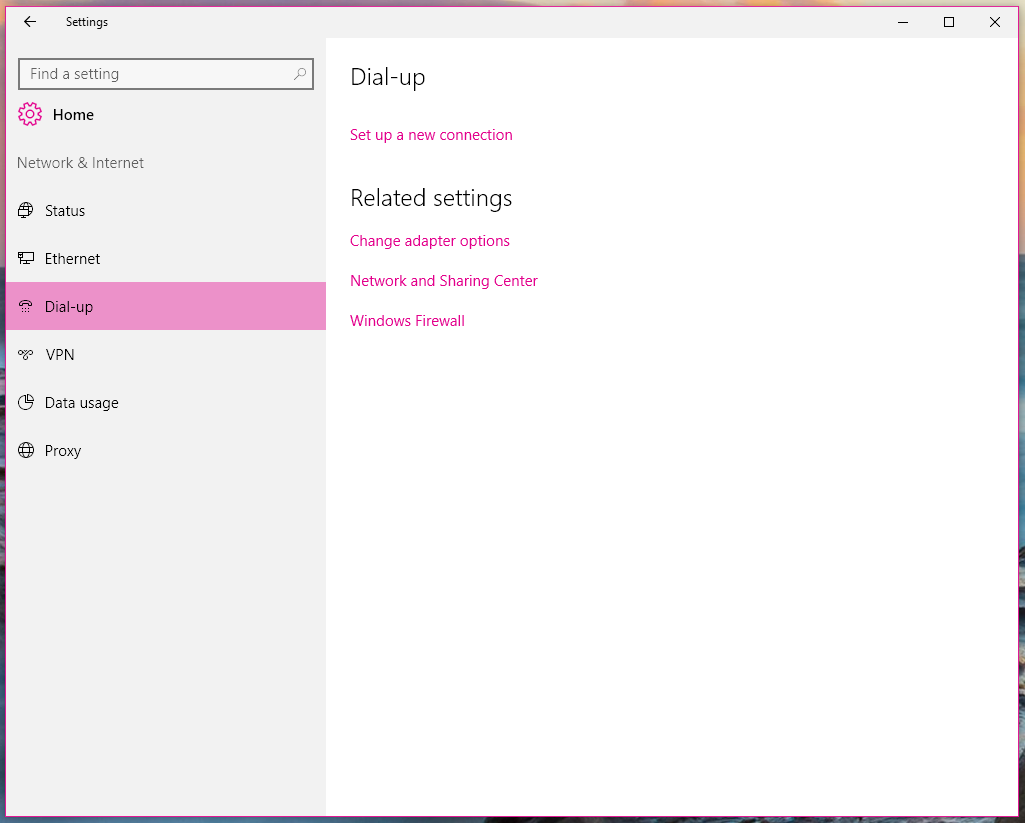

The Dial-up section is, oddly, the only network section that appears even if you don't have a viable dial-up connection. The Wi-Fi section doesn't appear on computers without Wi-Fi, while the Ethernet section doesn't appear on computers without an Ethernet jack, but the Dial-up section appears on both.
Ethernet

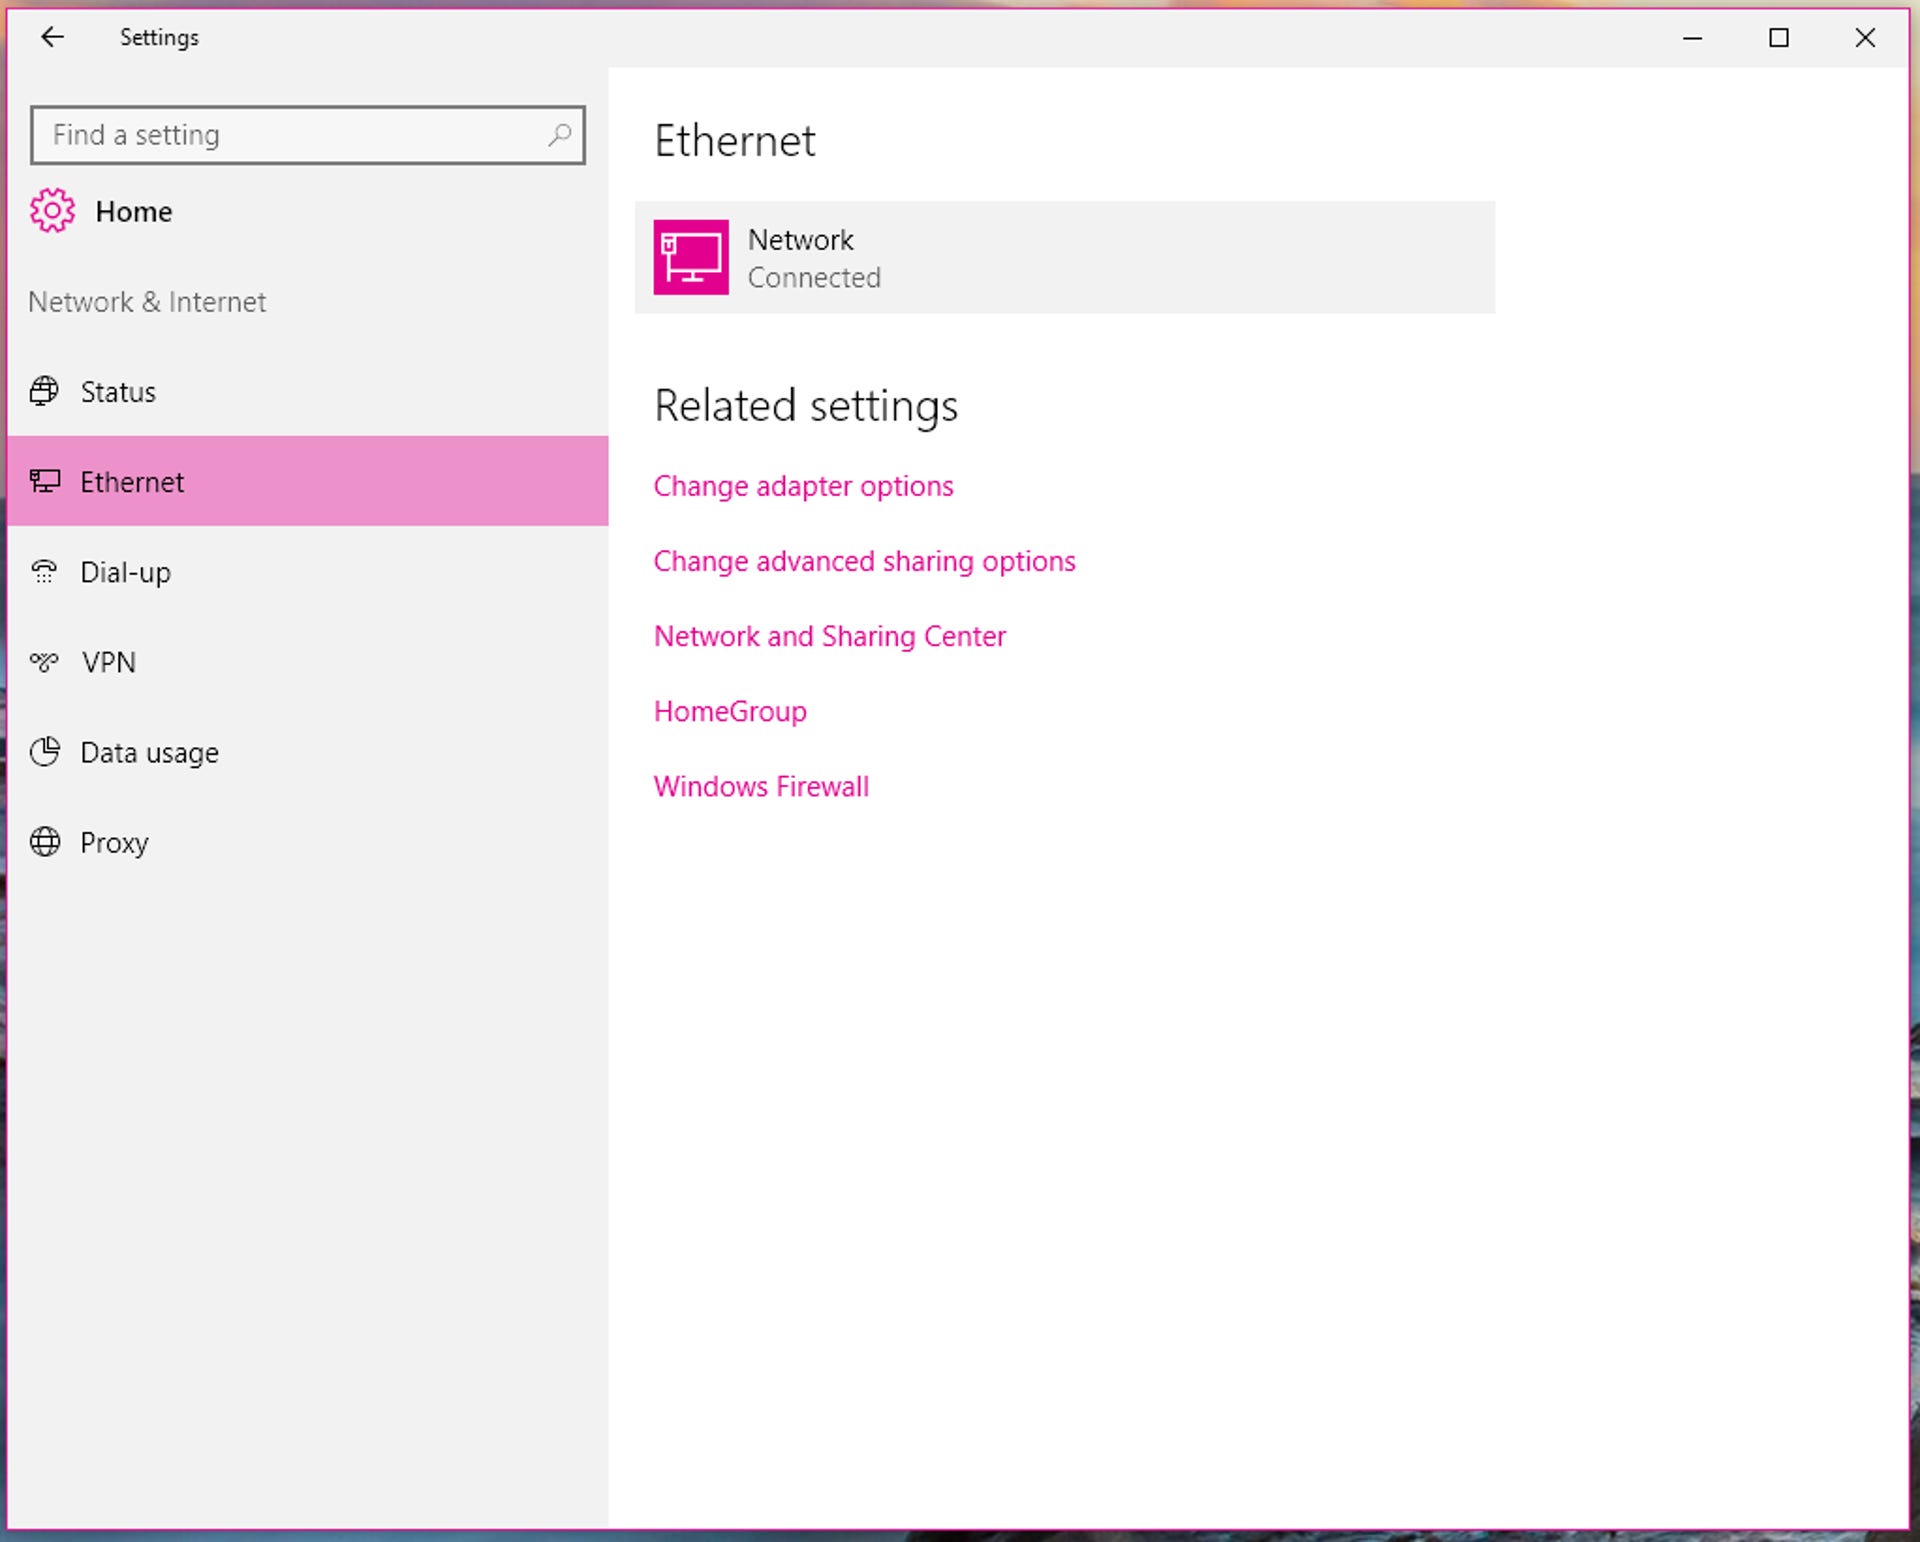
The Ethernet section appears if you're connected to a network via Ethernet, and is similar to the Wi-Fi section. Here, you'll see the network you're connected to -- click on it, and you'll be able to see the network's properties (IPv4 address, physical address, and so on) as well as the option to make your PC discoverable to other PCs on the same network.
Proxy


The Windows 10 Proxy section is exactly like Windows 8's Proxy section, which you can get to by going to PC Settings > Network > Proxy. Here, you can use an automatic proxy or you can manually set up your proxy by entering in the IP address (domain name) and port of your proxy server. Using a proxy server lets you do a variety of things, such as hiding your IP address or accessing websites that aren't available in your country.
Editors' note: This How To post was originally published on February 24, 2015, and was updated on May 20, 2016 to reflect new information regarding Windows 10 Home Insider Preview Build 14342.